Apr 16, 2018
WiFi Direct
If you are connected to a slow or overly-secure router, use WiFi Direct!
If you’re not connected to a Gigabit router for optimal performance or your devices won’t connect because your network is prohibiting the connection, follow these steps to connect your mobile VR headset directly to your MacBook!
Windows users with newer computers: WiFi Direct might be built-in! If so, follow these steps.
For Mac users on Big Sur (macOS 11+), WiFi Direct can ONLY be utilized via an Ethernet connection. Otherwise the steps below require disabling System Integrity Protection (SIP).
NOTE: The specific USB WiFi adapter linked below is not confirmed to work with the Big Sur version of the open source driver.
For Mac users not yet on Big Sur (but at least macOS 10.14.6), follow the steps below or you can follow this short video.
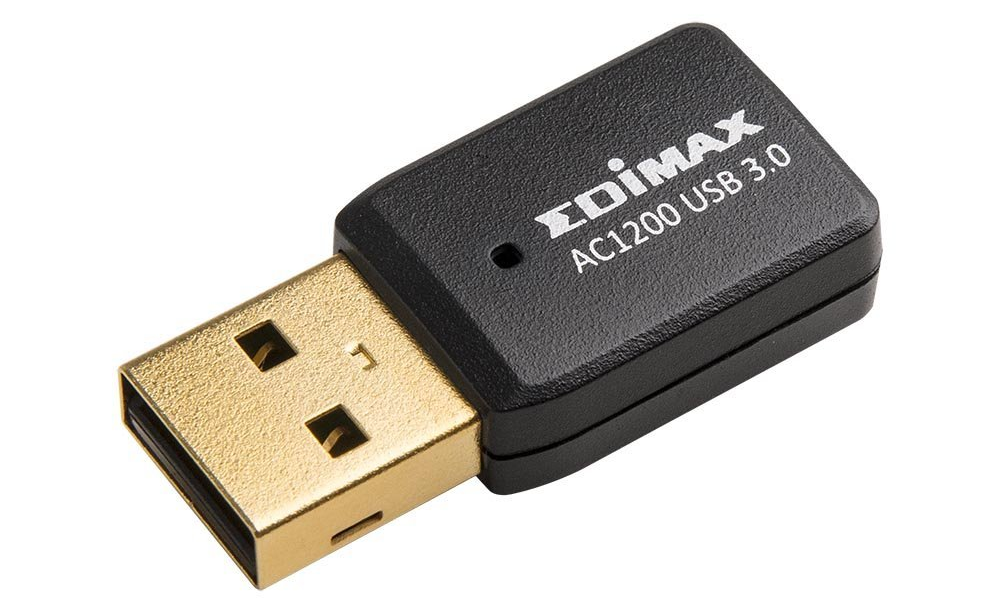
- Instead of replacing your router or hard-lining your laptop to your router via Ethernet, you can also purchase an inexpensive USB 3.0 WiFi Adapter (a 5Ghz band that can hit 600Mbps or higher is recommended).
2. Install the corresponding Mac OS X driver for the USB WiFi Adapter you chose (you may be able to get the driver from the product’s page, or their company’s website; worst-case scenario, try this open-source driver).
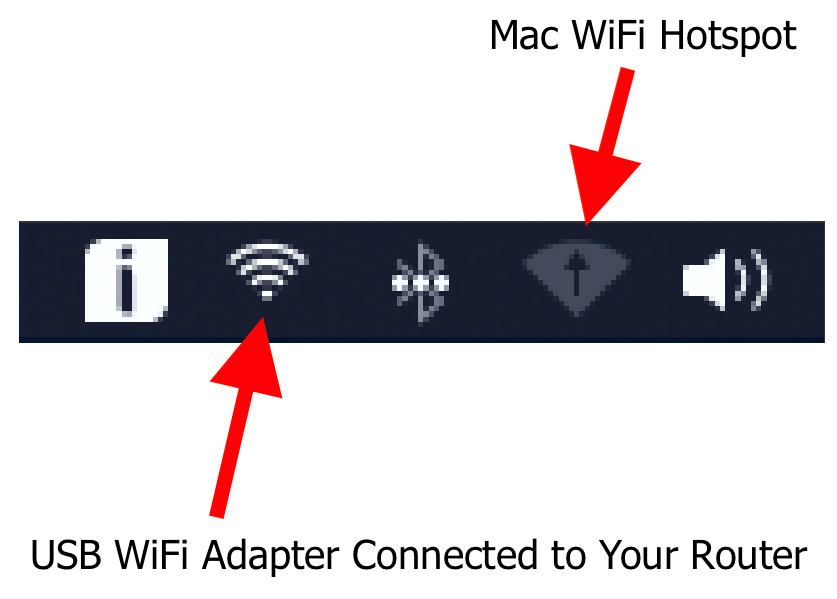
3. Use the USB WiFi Adapter you purchased to connect to your slow router’s internet (make sure your Mac’s WiFi disconnects from your slow router so that it will be available to use as a hotspot).
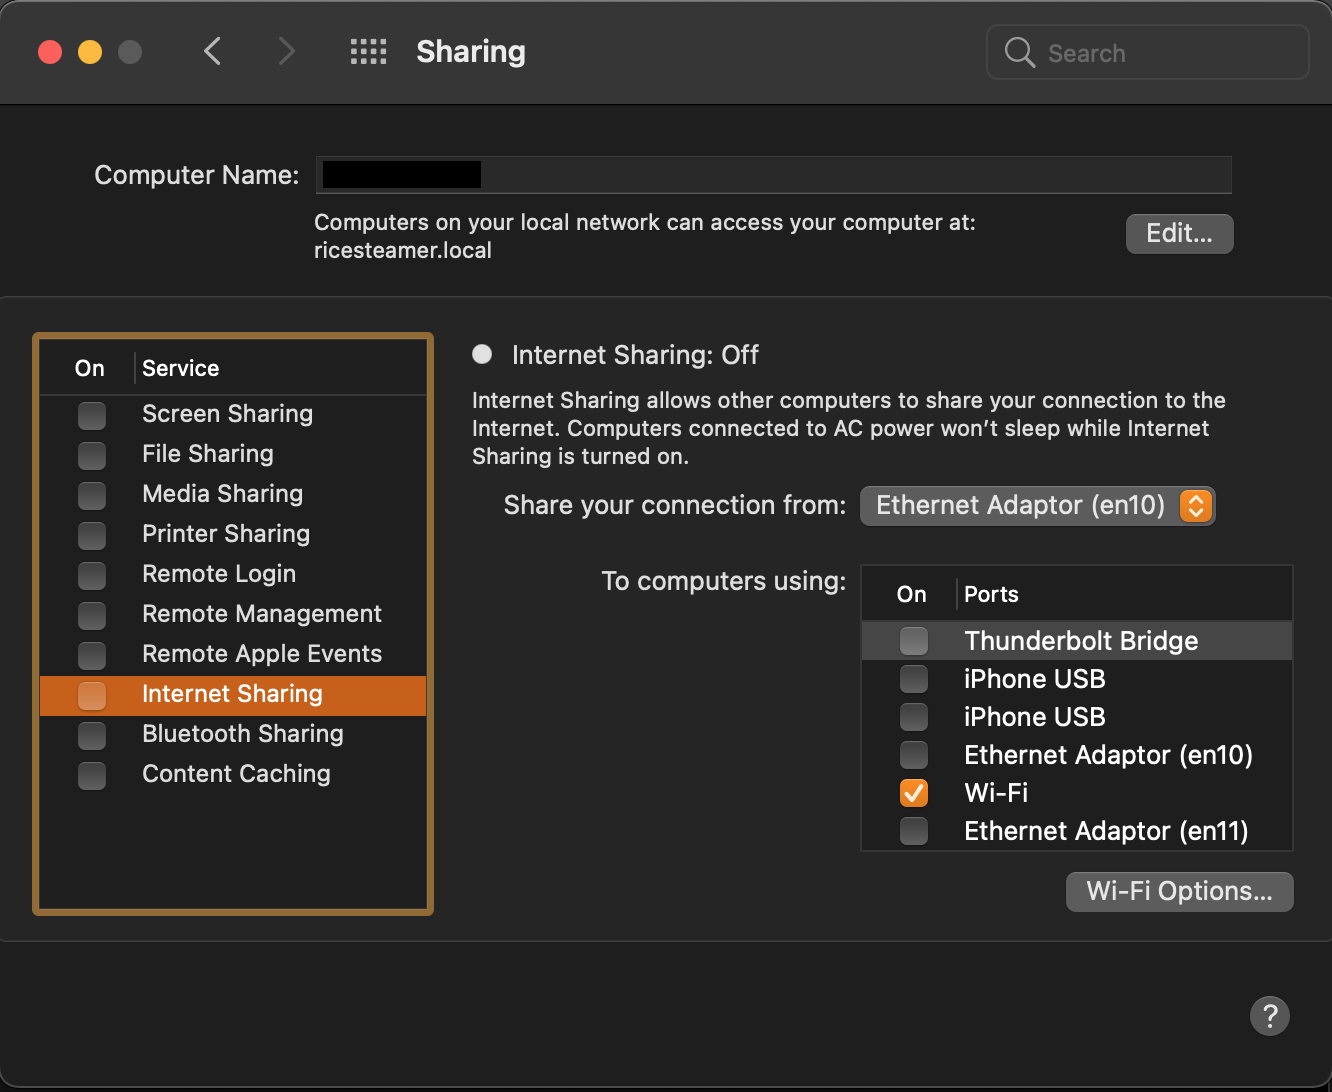
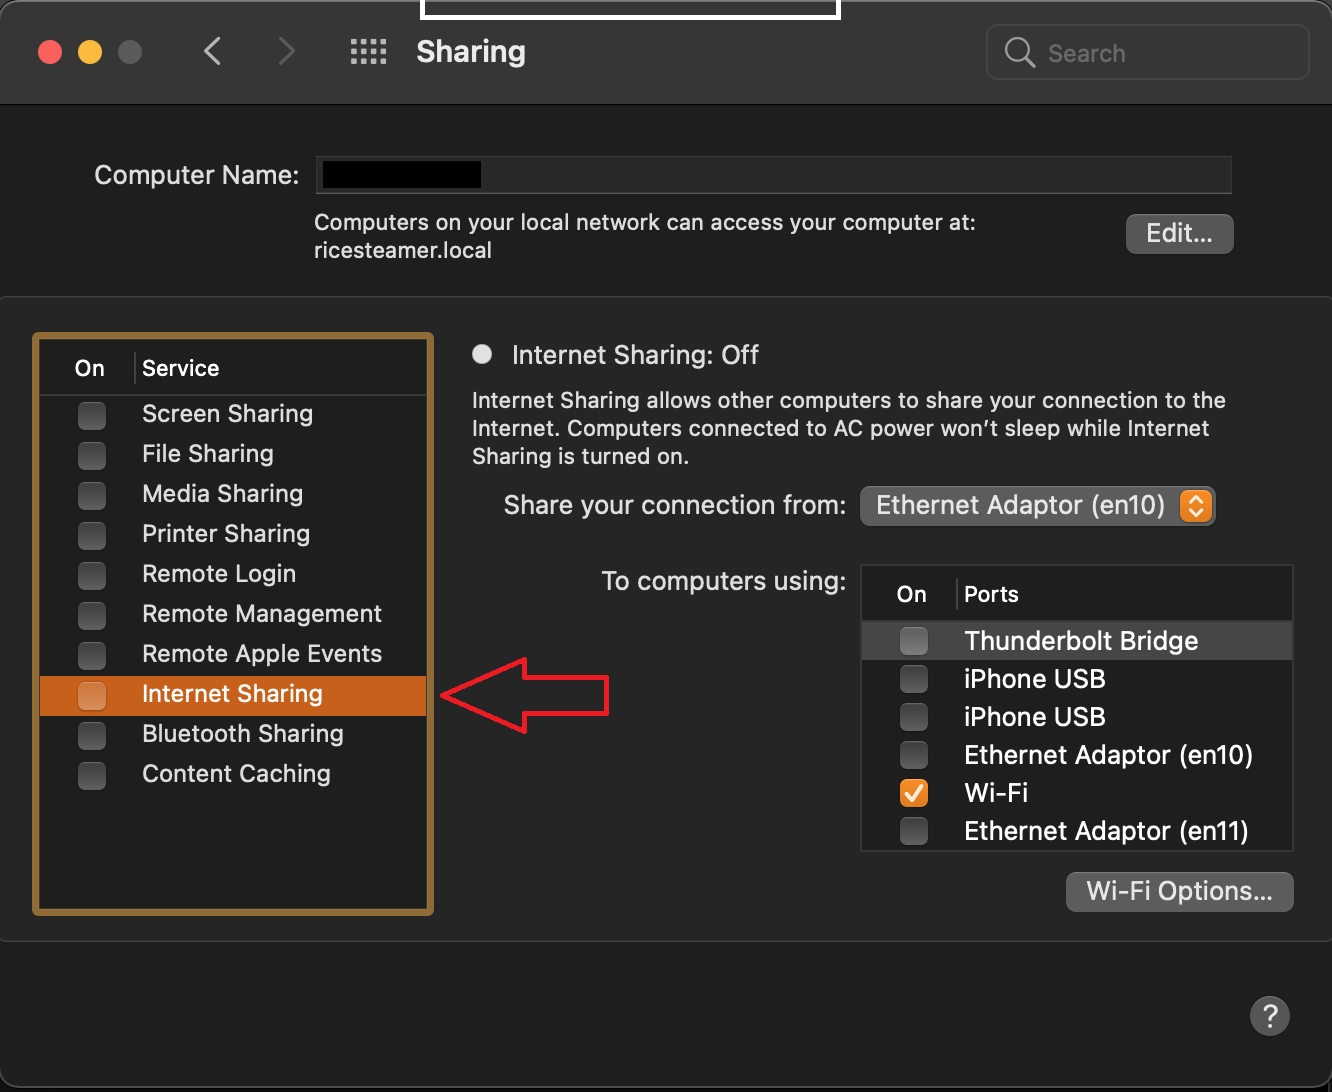
4. Go to System Preferences > Sharing, and setup WiFi Direct using the following settings:
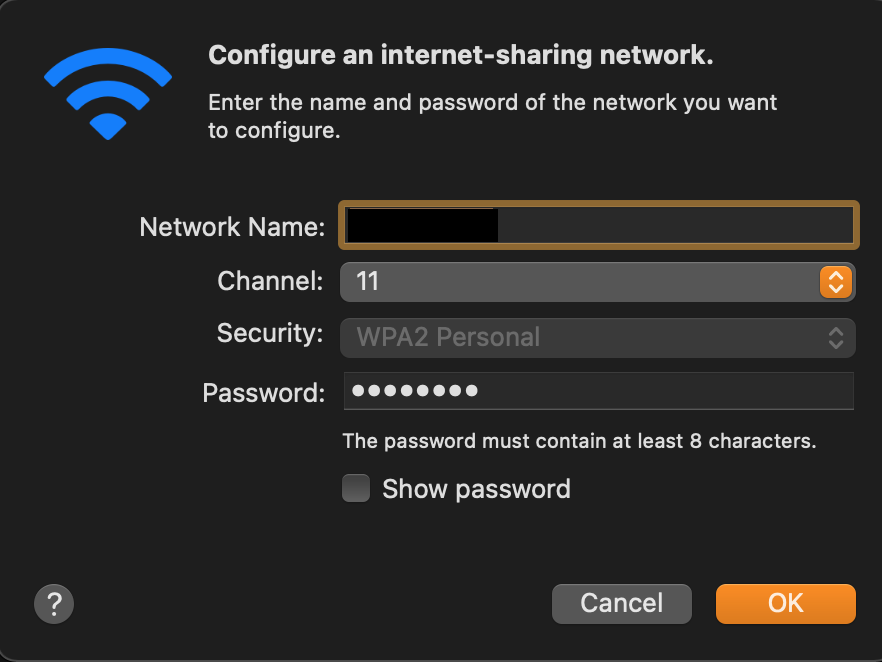
5. Then select Wifi Options and set your SSID (Network Name) and password.
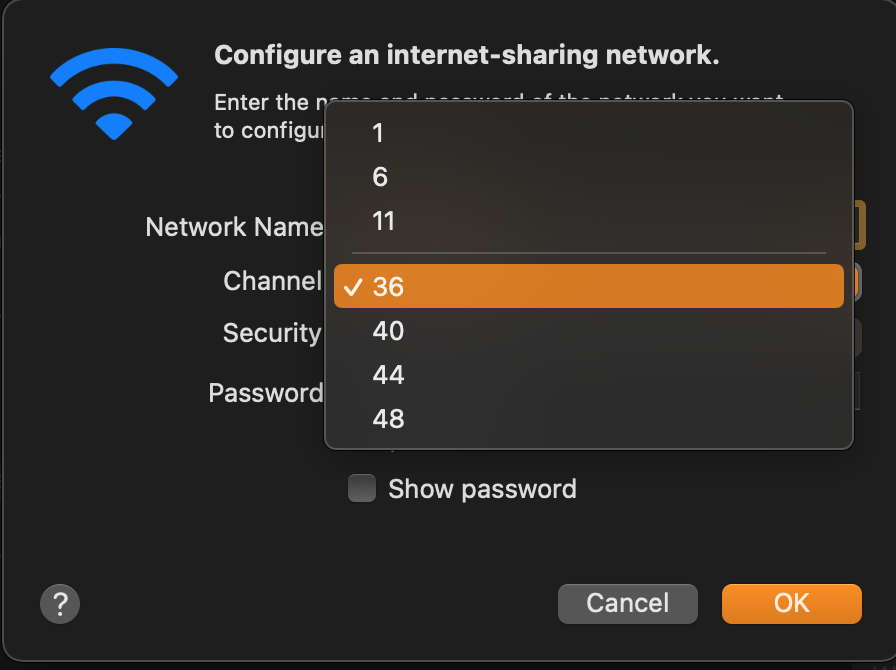
6. Then select Channel and select 36 or higher.
7. Once you’ve set your SSID, password and channel under WiFi Options, check the Internet Sharing checkbox on the left.
8. Connect your mobile VR headset to your laptop’s broadcasting WiFi Direct connection you just set up.
9. Enjoy Immersed without lag!